The Stakes of Historical Restoration
Attempting a historical vessel restoration with incompatible modern materials or incorrect joinery compromises the boat's structural integrity and destroys its historical authenticity. This risks both the vessel's survival at sea and its legacy. Understanding Captain Joshua Slocum's specific choices in Fairhaven provides the functional blueprint for a seaworthy traditional craft. We must treat Slocum's own account in Sailing Alone Around the World as the evidence baseline, separating his recorded construction details from later reconstructions of the Spray.
According to the primary text, the rebuilt Spray measured 36 feet 9 inches overall, 14 feet 2 inches in breadth, and 4 feet 2 inches in depth, with a recorded net tonnage of 9 tons. Slocum reported spending 13 months rebuilding the vessel and itemized the material cost at $553.62. Those figures describe his own labor and 1890s purchasing conditions, rather than a complete modern restoration budget. The rebuild preceded the Spray's departure from the Boston area on April 24, 1895, beginning the voyage that demonstrated whether the reconstructed hull could survive sustained ocean service.
The Fairhaven Foundation: Assessing the Original Hull
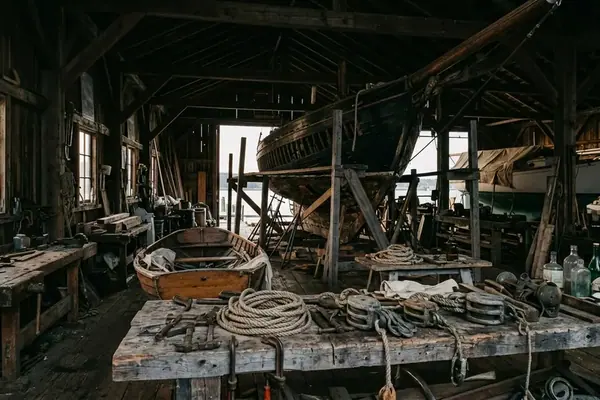
Slocum received the old Delaware-built oystering sloop at Fairhaven, Massachusetts, in 1892. It stood ashore in a field and was already near structural collapse. He did not conserve the received hull by retaining every old member. Instead, he used its surviving geometry as a full-size mould. The deteriorated structure held the vessel's sheer, breadth, and frame positions while he replaced the vessel piece by piece. Contemporary dimensions taken from the completed rebuild establish three useful control points for checking distortion: 36 feet 9 inches overall length, 14 feet 2 inches maximum breadth, and 4 feet 2 inches depth.
Slocum's replacement sequence cannot be transferred unchanged to a hull with a broken keel, spread sheer, unsupported ballast, or frames no longer capable of preserving the moulded shape; such a vessel requires an engineered cradle and an independently recorded lines plan before structural removal begins.
Distortion Risk In Framing
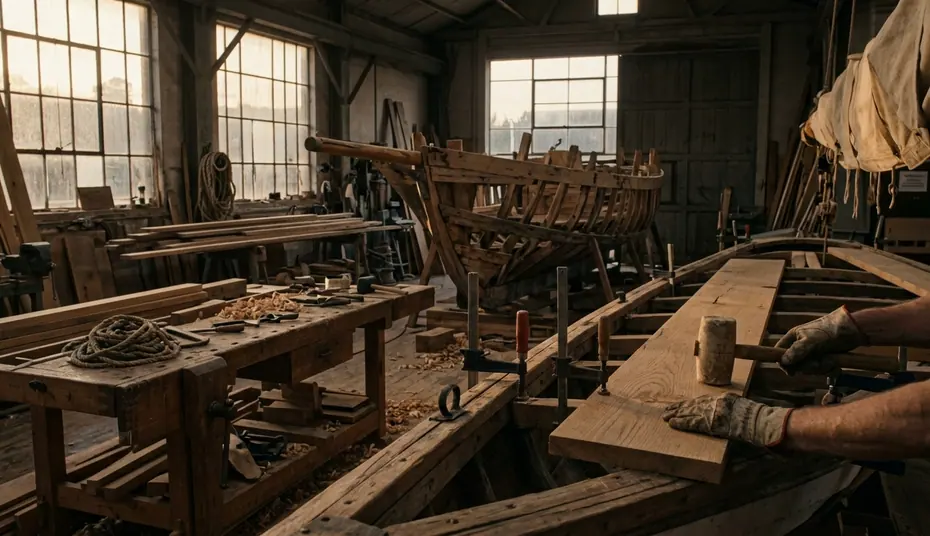
A new oak frame installed without sufficient cross-spalling can lock a spread or twisted hull into its distorted shape even when the replacement member matches the decayed frame lying on the shop floor. Before releasing a frame or backbone member, a restorer should take offsets at each frame station, run a taut centerline reference, and install cross-spalls between the sheer clamps. Measurements should be repeated immediately before and after removal rather than deferred until several bays are open.
Selecting the Timbers: Pasture Oak and Georgia Pine
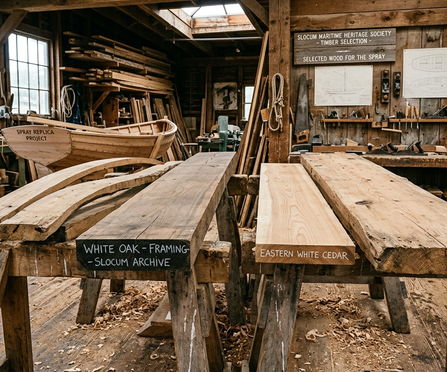
The timber decision begins with load path and grain direction. For floors, futtocks, knees, and sharply curved frame components, an open-grown oak with a low fork or sweeping limb provides grain that follows the required curve. In the 1892-1893 rebuild period, Slocum could select standing or locally felled timber by eye. Modern kiln-dried boards sold under a broad species label do not automatically reproduce the grain continuity of an open-grown natural crook. A frame crook should be rejected when a visible shake, bark inclusion, or major knot crosses the intended throat. The assessment must be made on both moulded faces after the blank is hewn close enough to expose the grain.
Sourcing Natural Crooks
Timber should be templated at full size before milling. For a curved member, leave roughly 0.25 to 0.5 inch of working allowance on the moulded and sided faces so adze and plane work can remove twist without cutting below the required section. Reviewing the durability characteristics of white oak helps ensure the selected stock meets marine requirements.
Spray's hull planking was recorded as Georgia pine 1.5 inches thick, a substantial carvel skin for a vessel only 36 feet 9 inches long. Georgia pine historically covered timber from several southern pine sources and growth conditions; a modern board carrying a similar trade description may differ markedly in ring density, resin content, clear length, and fastening behavior.
Fastenings and Hardware: The Role of Iron and Copper
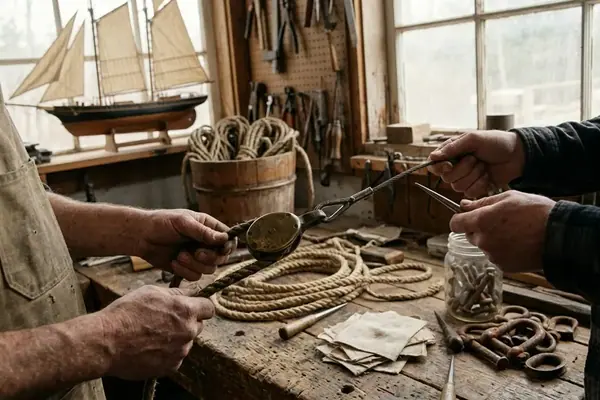
Fastener selection follows the surrounding metal system, timber thickness, and access to the reverse face. A spike can be driven where clenching or nut access is impossible. A through-bolt is preferable where heavy structural loads demand mechanical clamping force. Slocum's account identifies galvanized iron among the rebuild materials, but it does not preserve a complete fastening schedule giving the diameter and spacing of every spike and bolt. Any exact modern schedule attributed to him should therefore be labeled reconstruction rather than primary-source fact.
Late-19th-century classification rules specified acceptable fastening materials and scantlings but did not promise a universal saltwater lifespan for galvanized iron. Zinc loss accelerates where coatings are damaged, bilges remain wet, or iron is electrically coupled to copper sheathing or copper-alloy hardware.
Pilot-hole diameter is determined from the fastener's root or shank and the splitting tendency of the actual timber, not from nominal plank thickness alone. A trial fastening in an offcut from the same stock can reveal splitting, inadequate bite, or excessive driving resistance before work begins on the hull. A counterbore should leave sufficient sound wood beneath the head to carry bearing load. The bung is fitted with its grain parallel to the surrounding plank or timber and trimmed only after the bedding compound has set.
Executing 19th-Century Joinery
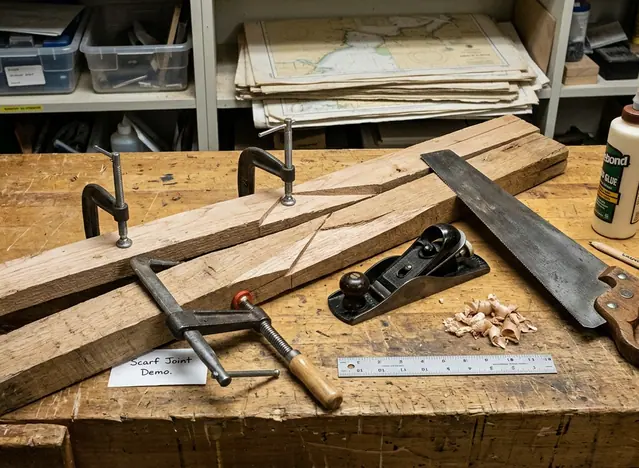
Backbone joints are laid out from fixed centerline and rabbet references rather than fitted as isolated bench joints. For a keel scarf, the shipwright marks the full run on both faces, removes waste wood, and planes the mating surfaces to a tight bearing fit. A traditional scarf is evaluated by continuous bearing across its designed faces, accurate centerline alignment, and bolt placement clear of feather edges. Scarf length and fastener count must come from the member's section and the applicable vessel plan rather than from Spray's overall dimensions.
Stem, keel rabbet, and sternpost should be checked with a short plank-shaped spiling batten. A batten that rocks or leaves a localized daylight gap identifies a high spot before full planking conceals the error.
Trunnels are driven with their grain running along the pin and are commonly wedged across, rather than parallel to, the receiving member's grain to expand the end without encouraging a split. Slocum did not publish a joint-by-joint specification proving that trunnels, mortise-and-tenon joints, or a particular keel-scarf form were used at every suggested location. These are period shipwright methods—techniques requiring corroboration from surviving fabric, contemporary plans, or archaeological evidence before being labeled Spray-specific.
Caulking and Sealing: Cotton, Oakum, and Pitch
Caulking begins only after the planks are fastened and faired, because the seam must have a consistent caulking bevel and enough edge strength to hold the fibers. Fine cotton is started at the bottom of the seam, followed by oakum driven in with a caulking mallet and iron. Spray's recorded 1.5-inch Georgia-pine planking provides context for seam treatment, but neither strand count nor caulking depth can be inferred safely from thickness alone. Both depend on seam bevel, plank width, fastening, and moisture condition.
Cotton and oakum should remain below the plank surface so the paying material has a shallow key. Fiber left proud will be dragged out during fairing or exposed when the planks swell. Hot pitch must be applied dry and fluid enough to enter the paid groove without scorching the fiber. Standing water, damp oakum, or overheated compound prevents reliable adhesion and can conceal an incompletely caulked seam.
Seam Inspection Takeaway
After launching, plank swelling should be monitored over the first 24 to 72 hours. A seam that continues to pass a concentrated stream after the surrounding planks have taken up warrants inspection rather than progressively harder caulking from inside the hull. Driving additional oakum into a leaking seam can crush plank edges or force adjacent planks apart when the real fault is a loose fastening, fractured frame, poor hood-end fit, or movement at the rabbet.
Applying Slocum's Methods to Your Project
Translate Slocum's pragmatism into an evidence-led procurement sequence. Document the hull, create full-size templates, identify which members require naturally curved grain, and inspect actual logs or crooks before purchase. Before the first structural cut, prepare full-size patterns for the most curved floors, futtocks, knees, and stem or stern-knee components. Mark the required sided and moulded dimensions directly on each pattern.
Procure the hardest-to-replace curved members before dismantling the corresponding original structure. Straight planking stock can be rescheduled more readily than a naturally grown oak crook matching a particular frame station. At each local hardwood supplier or sawmill, inspect candidate crooks with the template laid on both faces, photograph end grain and defects, and record the smallest finished section obtainable after removing sapwood, bark pockets, and checks.
Before making a single structural cut on your restoration project, physically inventory your local hardwood suppliers and sawmills to secure naturally curved timber that matches your vessel's specific frame templates.